Project Overview
GLTrace was a project I started as a brief exploration of path tracing. During development of Paul Engine, I began working on screen space reflections as part of the engines advanced graphics features (which usually involves some form of screen space ray-marching). Working on this feature gave me a flash of inspiration to learn about ray-tracing.
With that inspiration, I went to the "Ray Tracing in One Weekend" book series. This book series is built as an introduction into the, very deep rabbit hole, topic of ray-traced rendering. In the series, you build a path-tracer that runs offline on the CPU, producing a single frame and saving that image to disk.
I decided I wanted to go a step further. After completing the series, I began this project with the goal of creating a version of the path tracer that runs in real-time on the GPU.
The path tracer runs in a level editor style application, built with ImGui. You can build a scene with various materials and primitive types including: quads, spheres, triangles and disks. The scene you build can be saved and loaded in a JSON format. There is also support for model loading in a very primitive form. Assimp is used to read a model file and automatically create the appropriate scene primitives.
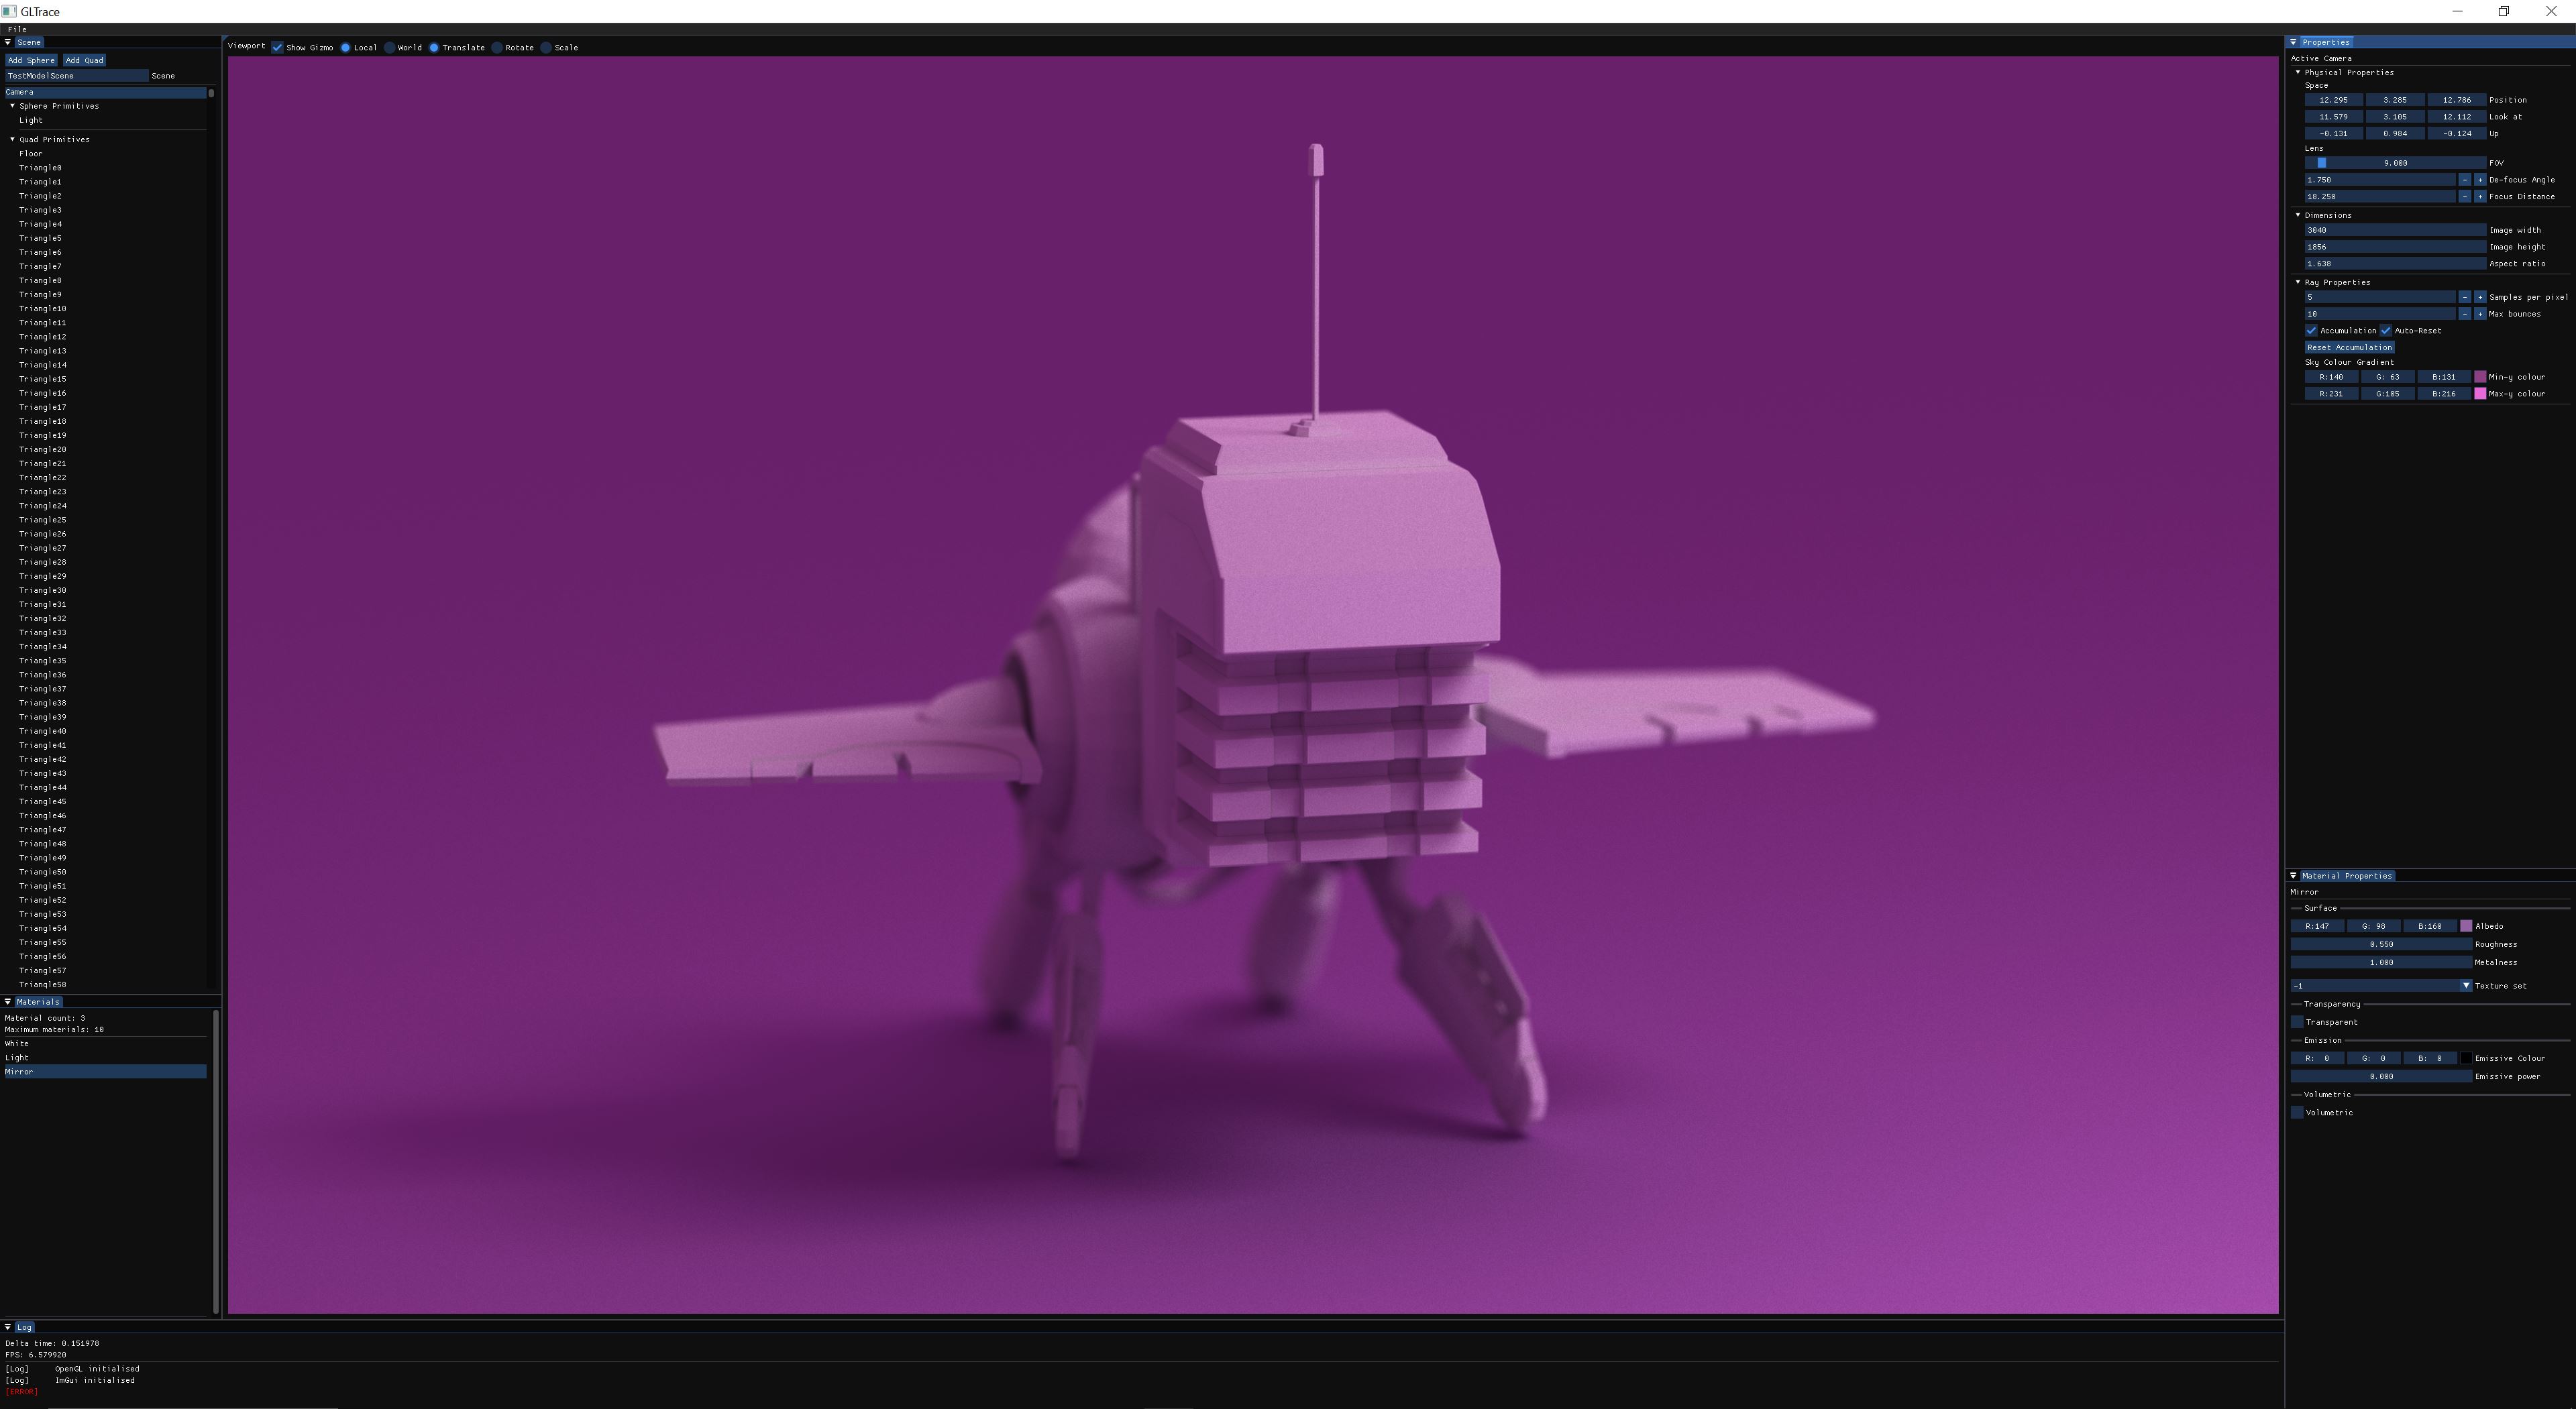
Showcase
Challenges
The original CPU path tracer relied on importance sampling and probability distribution functions to produce clean, high quality renders. But noise was still an issue. To produce a noise-free image, you would need to be prepared to leave the program running for hours, sometimes even beyond 12 hours due to the extreme amout of samples-per-pixel needed and the lack of multi-threading.
So, reducing a multi-hour render into a sub 16 millisecond render was going to be difficult.
CPU to GPU
The lack of multi-threading in the original version was a huge bottleneck. Now, this could be added to the CPU version, sure. But, it will never compare to the beast of multi-threading: the GPU. GPUs are specifically designed for parallel computing on this scale, offering thousands of threads that can run at once. Perfect for this use case (they are called graphics cards after all).
Due to the largely object oriented nature of the original version, porting the work over to the GPU was a lot more challenging than it may sound. Furthermore, the logic on the CPU version relied heavily on recursion which isn't supported in shaders. Converting this logic into an iterative algorithm was a larger challenge than I initially expected.
I built a large compute shader in which the scene and BVH structure would be uploaded from the CPU. Then, 1024 threads would concurrently calculate the colour of their screen pixel using the path-tracing functions and averaging over a number of samples.
One area of improvement would be to split this shader into multiple shader files which would be included in the main file simply for ease of use and cleaner presentation. You can view the full compute shader here: RTCompute.comp.
Another challenge posed by moving to the GPU was debugging. Usually, you can visually debug a shader in tools like RenderDoc or NVidia Nsight (something I have had to do countless times in my game engine project). But in this case, with very complex logic, inspecting outputs in those tools simply wasn't enough. To help debug problematic logic, I recreated the shader on the CPU so I could step through specific threads that were causing problems.
BVH Structure
The original version used a simple BVH structure in which the nodes were split along the largest extent to optimise the collision detection between the rays and the scene primitives. But this was built once before the render and could take a long time for a large, complex scene. Bringing this over to a real-time application would be problematic due to the fact that the scene is expected to be dynamic, meaning the BVH structure would need to be rebuilt any time the scene changes. As it stood, the BVH structure was completely unusable for real-time scenarios.
In GLTrace, the BVH structure is constructed on the CPU and uploaded to the GPU. During construction, BVH nodes will be split into child nodes. During construction, we use the surface area heurstic to determine the most runtime efficient split. When I say "runtime", I am referring to the efficiency of the ray-node collision detection. Efficient node splits = faster ray tracing. However, with this runtime optimisation, the BVH structure now takes significantly longer to build. So, I used a "binning" technique to split the scene into intervals and reduce the number of possible split evaluations that needed to be tested. The result of these two optimisations is a BVH structure that is fast to traverse and fast to build, making it much more suited to animated, real-time scenes.
Denoising
High samples-per-pixel was simply not compatible with real-time performance. So, a smaller amount of samples needed to be used to keep performance in check. However, a small sample count results in severe visual noise. To alleviate this, many real-time ray tracing applications or game engines use denoising algorithms. Companies like NVidia have put a lot of effort into this area with their AI accelerated denoising for example. There are various ways to denoise an image, all ranging in complexity.
My approach was a simple accumulation technique. Each frame would contribute to an accumulation buffer, and the final colour output would be an average of all of the frames in the accumulation buffer. Essentially, this allows us to spread out a larger sample count across multiple frames. The drawback to this, however, is that any time the scene changes or the camera moves, the accumulation buffer needs to be reset to avoid ghosting.